Bone Bank Archaeological Research
Posey County, Indiana
Rescue Excavations at the Bone Bank Archaeological Site in Southwestern Indiana
 Introduction
 Indiana's First Archaeological Excavation
 Survey and Testing
 Significance
 Project Goals
 Research Stages
 Expected Results
 Bone Bank in 2000
 Planning for 2001
 Current Work
 In the News
 Fall 2001 Lecture
 References
 Geomorphological History
 Links
Links
 Maps
Maps

BONE BANK 2000
Excavation in Fall 2000 was focused on an area termed the North Block, where testing in 1998 revealed a thick deposit of cultural refuse covered with recent (post-1800 alluvium). These deposits partly fill the back bar swale that once ran along the east side of the village habitation area. The habitation area next to the North Block has been completely eroded away. Our goal was to recover a representative sample of the artifacts and residues, so we could examine change over time in plant and animal food remains, ceramics, and other materials associated with the Caborn-Welborn occupation.
Our work started later than planned, due to unforeseen administrative delays at the state level. Excavation was carried out from mid-October to mid-November, with the last week being very cold!
In addition to our field crew, experienced volunteer excavators lent us many hands, and inexperienced volunteers helped with water-screening to recover artifacts. Students from University of Southern Indiana were a big help. Other cooperation and contributions of matching funds for the grant was provided by the Allen Gray Limited Partnership (owners of the site) and the Gray Family Trust. The Robert Lee Blaffer Trust also contributed funds in support of the research project. The Four Rivers Resource Conservation and Development Area, Inc., is providing administration for the grant project. Indiana State University and the Glenn Black Laboratory of Archaeology at Indiana University loaned equipment to help with the field work. The Indiana Geological Survey loaned equipment (sieves and sonic cleaner) to help our lab work. Thank you everyone.
Photographs in our "Scrapbook" below illustrate some of the work and initial results.
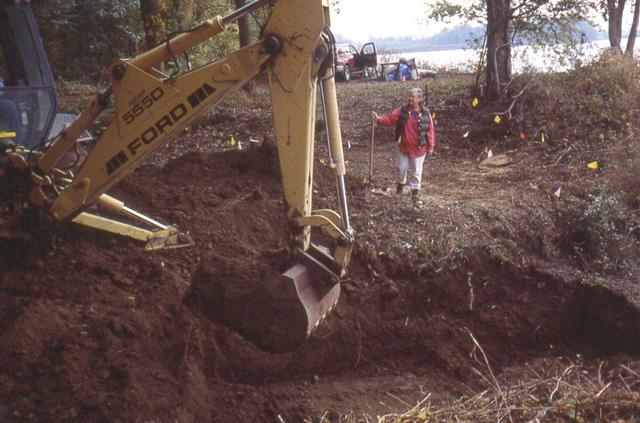
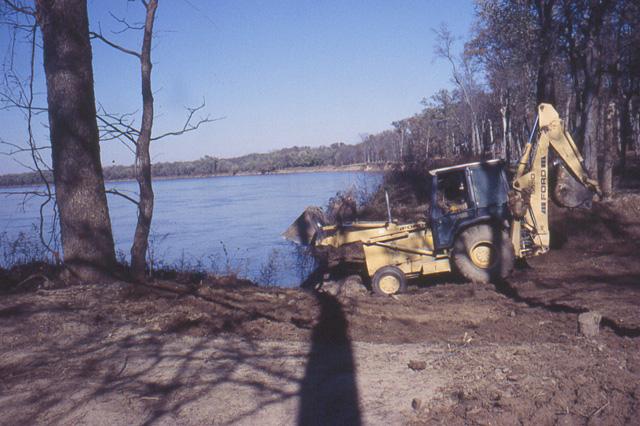
Before the excavation began, a backhoe was used to remove about 2 meters of overburden covering the cultural deposits.
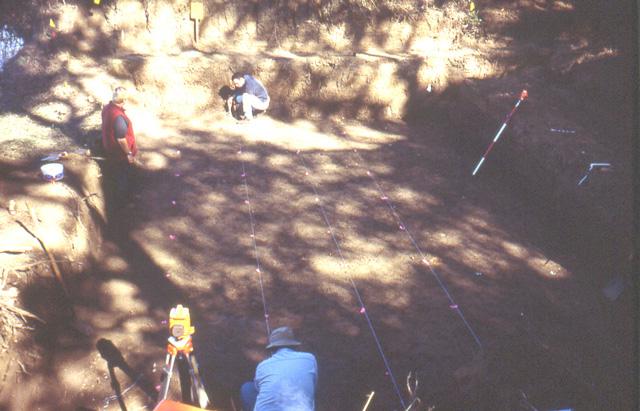
In preparation for the excavation, strings are laid along the grid lines. These define the 1 x 1 meter excavation units, and guide the archaeologists as they dig.
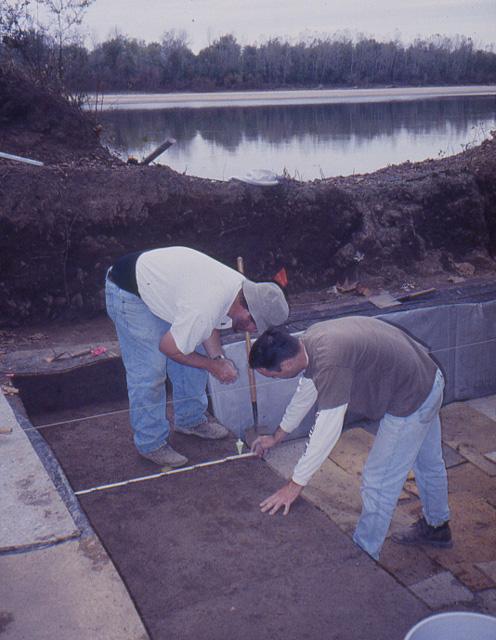
Jeff Brown and Kris Suthers measure 1-m excavation units. It is important to maintain vertical and horizontal control as the excavation proceeds. The units are excavated in 10 cm levels, and the archaeologists use a plumb bob, tapes and a laser level to measure accurately the edges of the unit and the level being excavated.
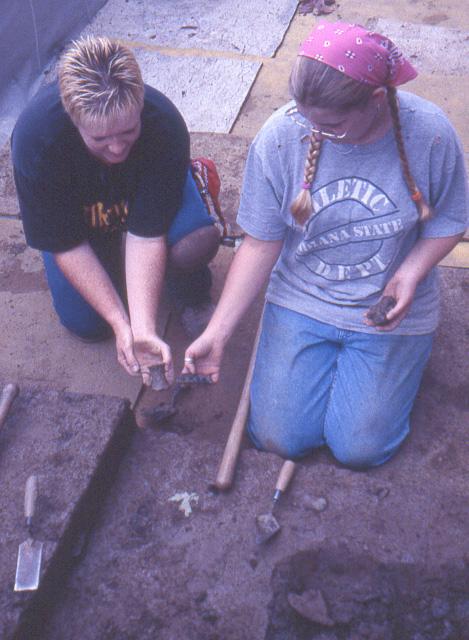
Tammy Reece and Sarah Arthur comparing pottery sherds (pieces of pottery vessels) from adjacent excavation units to see if they might fit together. Sherds from the same pottery vessel (tossed aside in prehistoric times as trash) may be found a considerable distance apart.
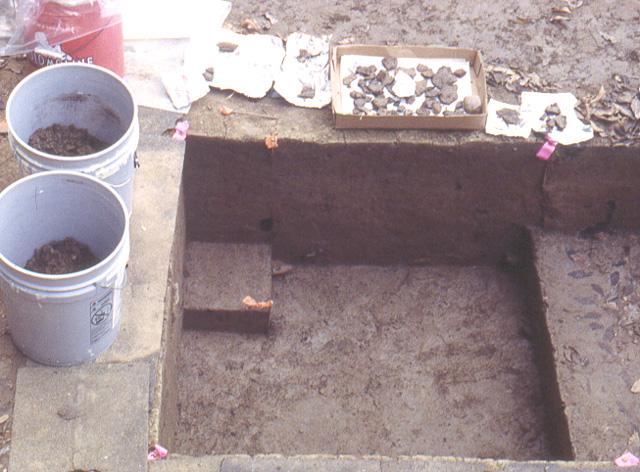
For each level of the excavation, a special 25 x 25 cm flotation sample is collected as a precise volume of soil to obtain very small artifacts such as animal bones and carboned plant remains (seeds, nutshell fragments). The flotation block is in the upper left corner of this unit, ready for excavation and collection.
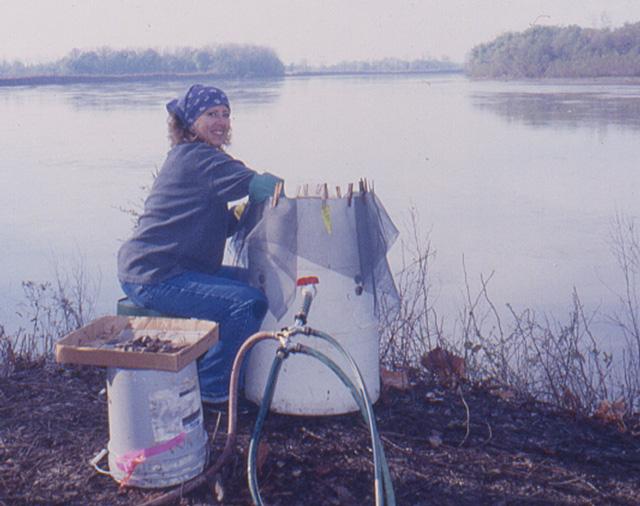
Trish Word processing a flotation sample using a fine mesh screen inside the water tank, and an even finer mesh screen (paint filter bag) at the overflow at the top. The flotation sample is poured into the water and onto the screen. As water continues to flow upward through the tank, the soil disolves and falls through the screen. The heavy artifacts remain in the screen. As water flows out of the tank at the overflow, materials that float (such as wood charcoal, carbonized seeds, fish scales, and tiny bones) are captured in the very fine mesh screen placed at the overflow.
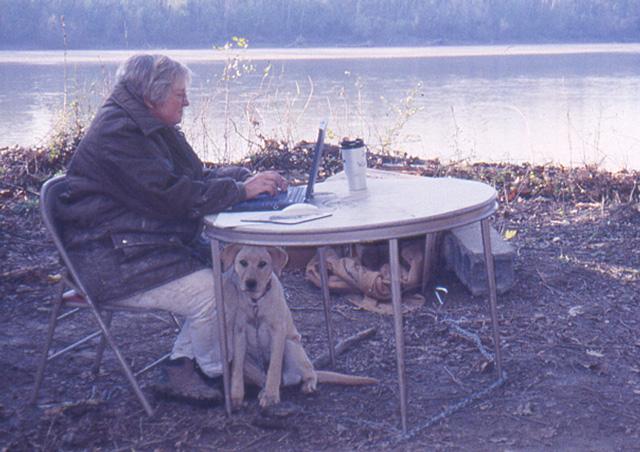
Cheryl Munson recording data. Making notes as the work progresses is extremely important, since excavation actually destroys the area being studied. Archaeologists are careful to measure and record everything they do so they can later create a reconstruction.
After excavation is complete, the unit walls are then carefully mapped in profile.
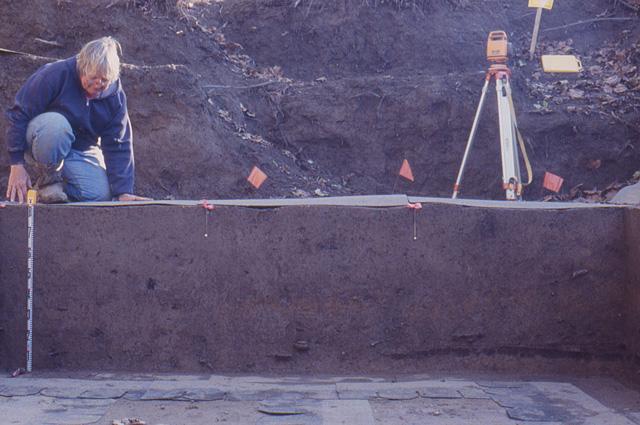
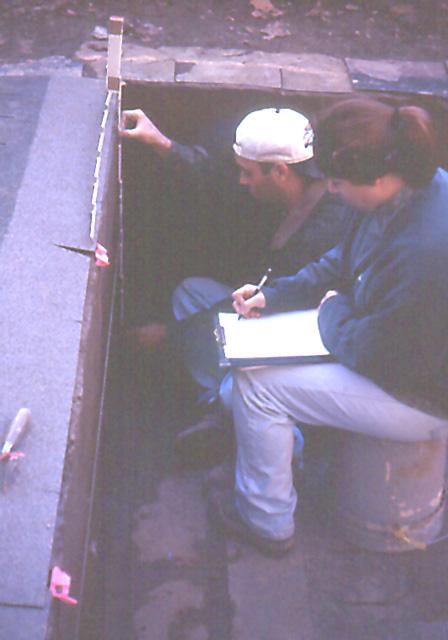
Kris Suthers and Rebecca Sick mapping a profile. Profiles maps of all the walls (N, E, S, and W) around the North Block were made to show the location of artifacts, features, and distinct soils. Profile maps, along with the maps made at the base of each level of the excavation, are used to document the stratigraphy of the excavated area.
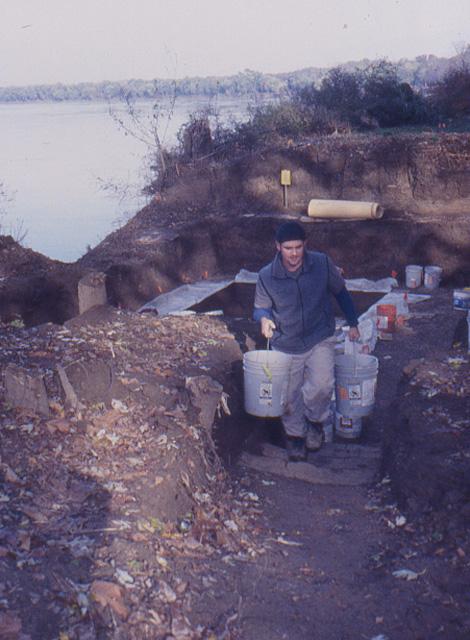
Tony D'Albini carrying buckets of excavated soil to the water screen.
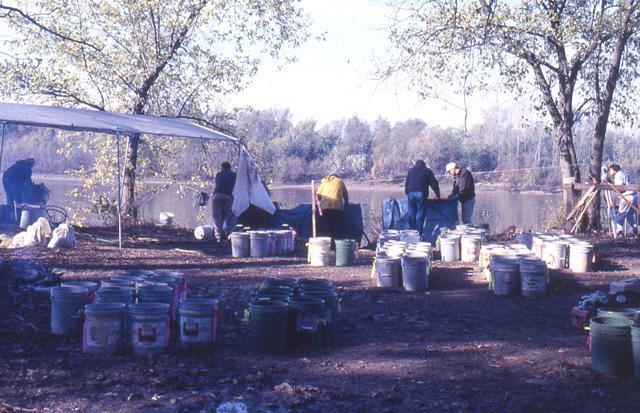
Labeled buckets of excavated soil from each level and unit are arranged in the water screen area and carefully grouped according to excavation unit. The soil is then processed unit by unit.
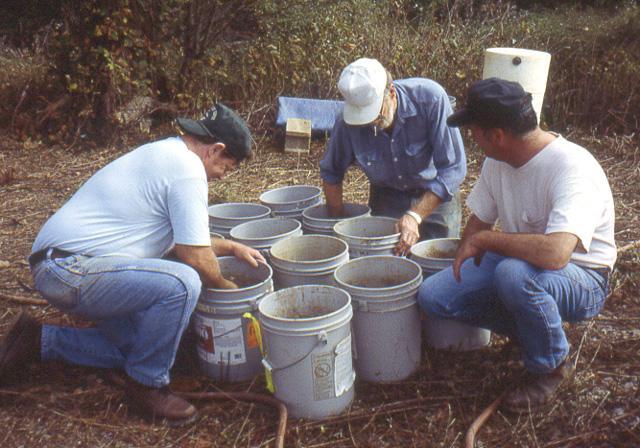
Before the excavated soil can be processed by water screening, it needs to be soaked in water. Leon Hostettler, Patrick Munson, and Frank Gerth stir the soil to help disolve the clods. Stirring speeds the water screening process and helps protect the artifacts.
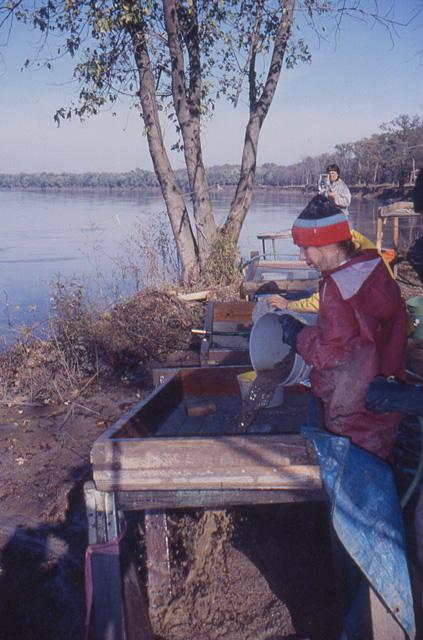
After soaking and stirring, Heidi Deter dumps a bucket of excavated soil onto a 1/4" mesh table screen.
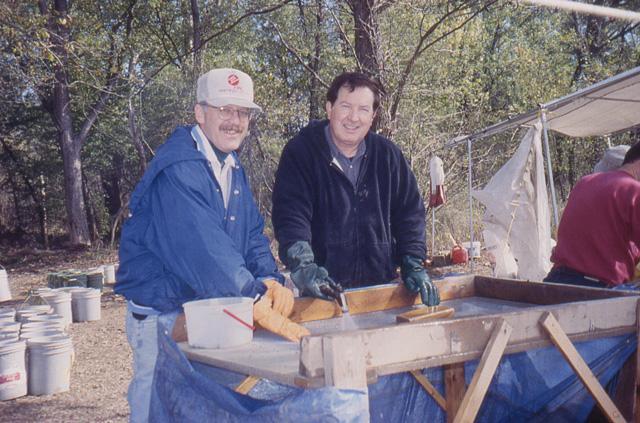
Volunteers Charles Somers and Don Mathew use hoses with sprayer nozzles to wash the soil from the artifacts.
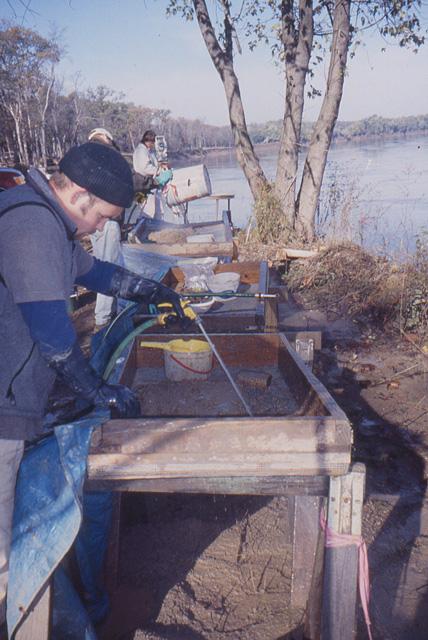
As the soil is washed away from the artifacts, any that are 1/4" or larger are retained in the screen. These artifacts are then placed in a bag that is labeled with information about the unit they came from (Field Specimen Number, Unit, Level). The Field Specimen Log records information about grid location, depths, excavators, and date.
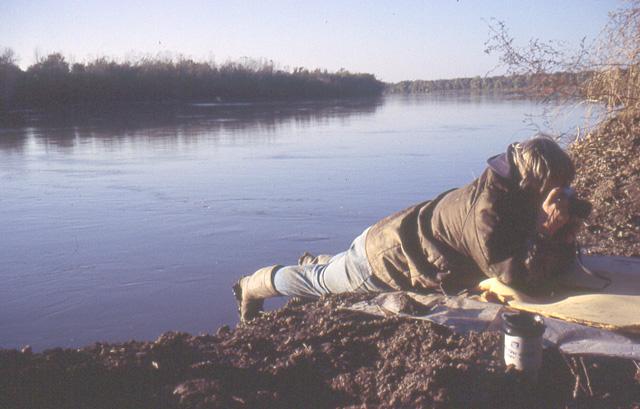
In addition to logs, unit excavation forms, and computerized field notes, our procedure is to make a photographic record of the floors of all levels that contain features, as well as all profile walls. At Bone Bank it was hard to be far enough west to photograph the east profile wall without falling in the river!
When the excavation of the North Block was complete, the backhoe was again used to fill in the excavated area. It is important to leave the area as close to its original appearance as possible, to preserve the unexcavated cultural deposits.
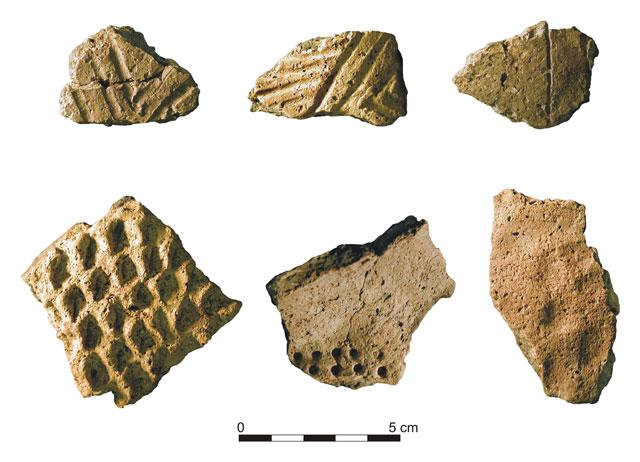
Examples of incised (Caborn-Welborn Decorated) and puncatated sherds (Parkin Punctate, Manly Punctate, and indeterminate type) from the North Block. (Compare the incised motifs with those illustrated by Charles Alexander Lesueur in 1828 [ Indiana's First Archaeological Excavation ]
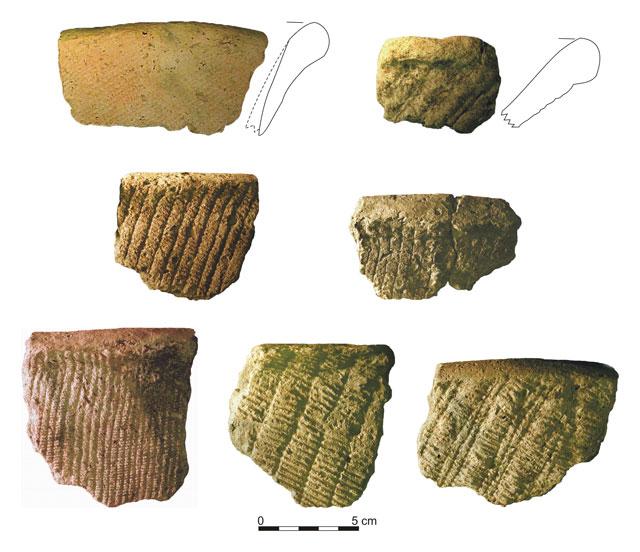
Examples of fabric impressed pottery bowls from the North Block. (Compare with the 1828 illustrations of various fabric impressions [ Indiana's First Archaeological Excavation ]
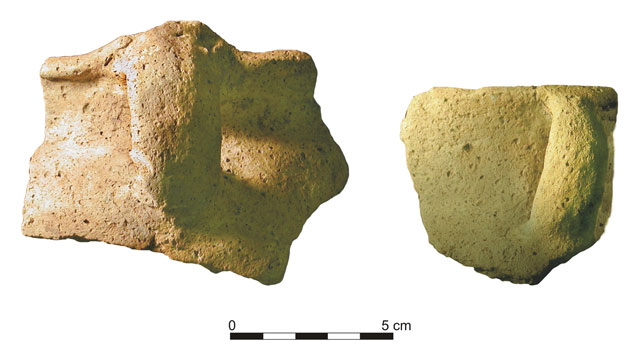
Examples of strap and loop handles on rims of plain surfaced jars from the North Block. (Compare with the handles illustrated in 11828 by Charles Alexander Lesueur [ Indiana's First Archaeological Excavation ]
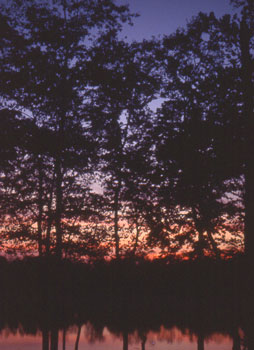
View from Bone Bank, the Wabash River at sunset.
Return to Top
Last updated on 8/06/2001
Send Comments to: munsonc@indiana.edu
Site sponsored by Indiana University
 Introduction
 Indiana's First Archaeological Excavation
 Survey and Testing
 Significance
 Project Goals
 Research Stages
 Expected Results
 Bone Bank in 2000
 Planning for 2001
 Current Work
 In the News
 Fall 2001 Lecture
 References
 Geomorphological History
 Links
Links
 Maps
Maps


